Our journey to a revitalized space begins with assessing the area’s size and identifying your concrete type by examining its:
Moisture Levels
Structural Integrity
Surface Hardness
These factors guide our tailored approach to the crucial phase that follows: floor profiling
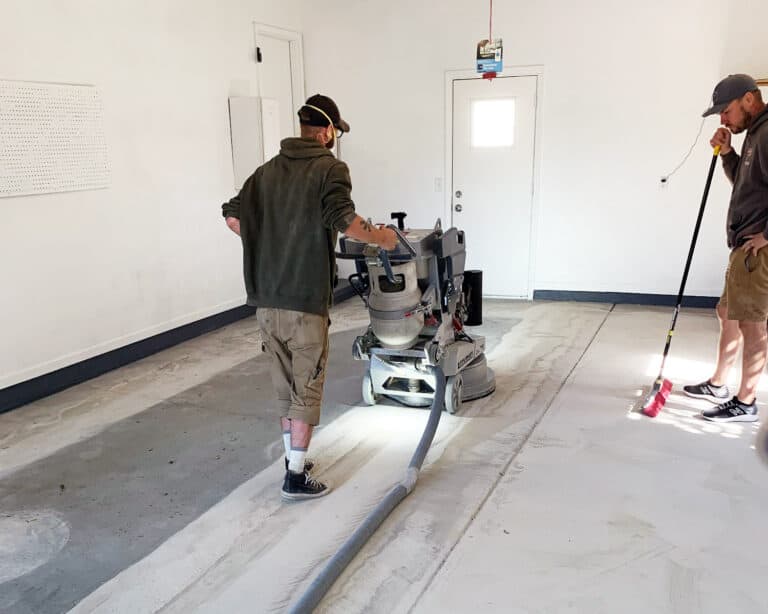
Step 2: Floor Preparation
While some may opt for acid washing, our allegiance to longevity sees us utilize diamond grinders for profiling. This method not only eliminates chemical residues but also assures unmatched floor adhesion, considerably prolonging its life.
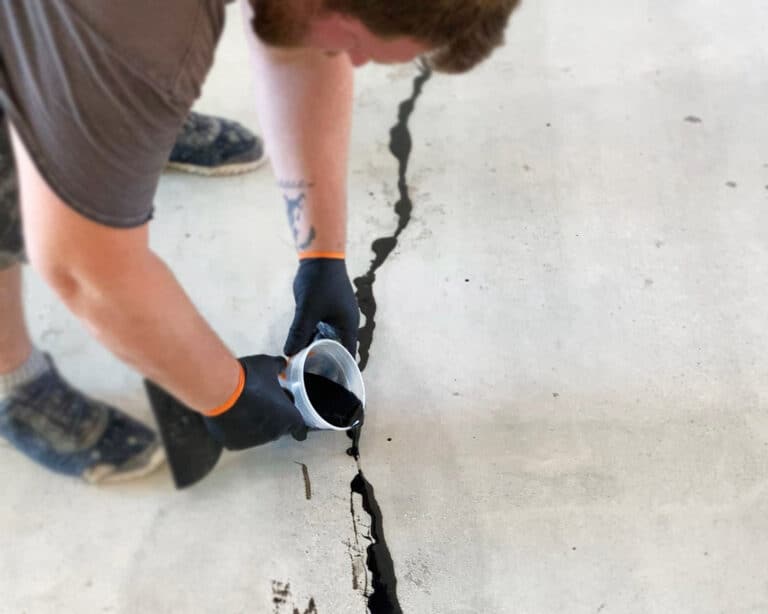
Step 3: Concrete Restoration
Here, our focus shifts to restoring the concrete floor. Leveraging specialized equipment, we address cracks and surface imperfections. With our robust mender application, problem areas are transformed into resilience points, setting the stage for a seamless coating.
Step 4: Coating The Floor
Especially in garages, we typically deploy a polyurea chip coating system. We start with a base coat to define the edges and then uniformly roll out the main coat until the entire surface is neatly covered.
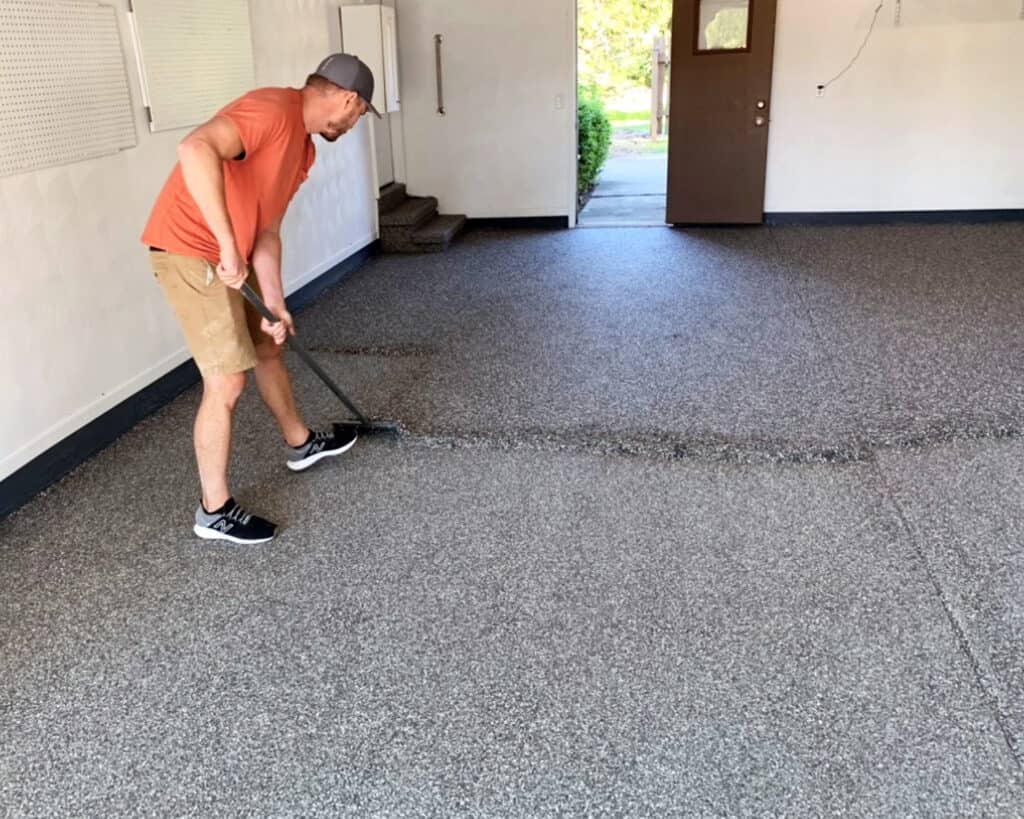
Step 5: Broadcast Vinyl Chip
Once coated, we methodically mix our flakes to ensure consistent coloring. These are then hand-broadcasted over the wet coat, guaranteeing a uniform hue and texture. Excess or upright chips are methodically scraped off, leaving a consistent texture.
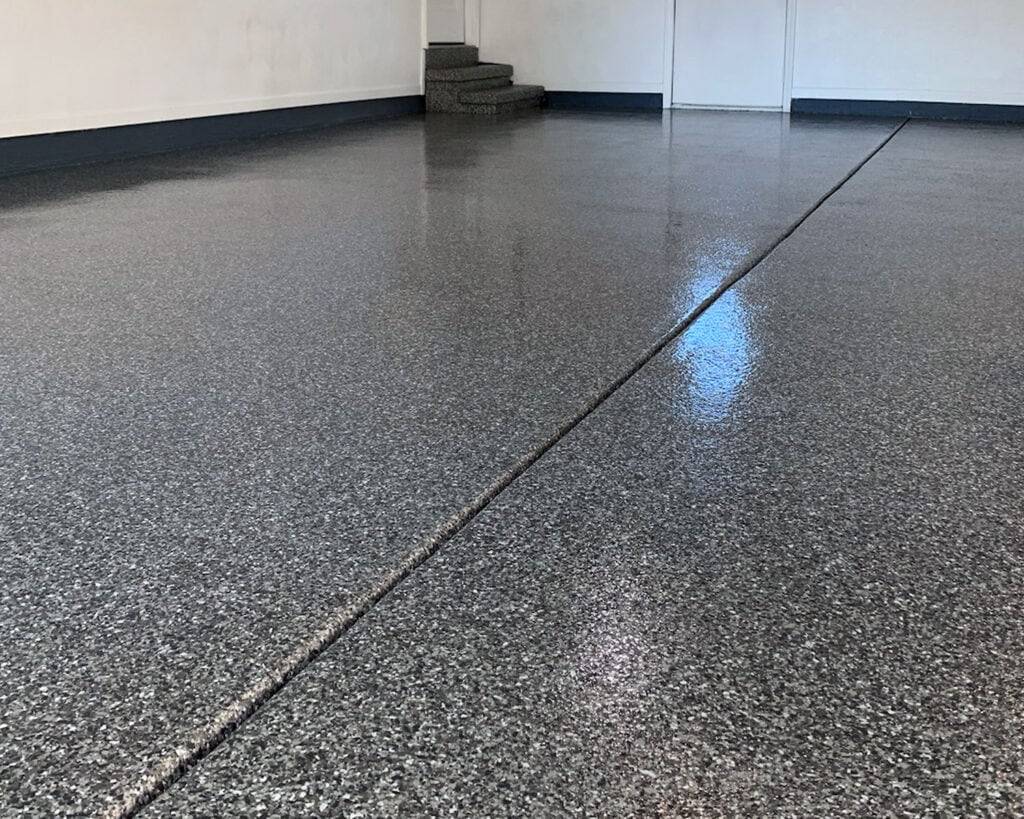
Step 6: Clear Coat Application
With the floor ready, we introduce our high-quality, UV-resistant polyaspartic Polyurea clear coat. Spread evenly and rolled meticulously, this coat ensures a glossy, immaculate finish across your floor.
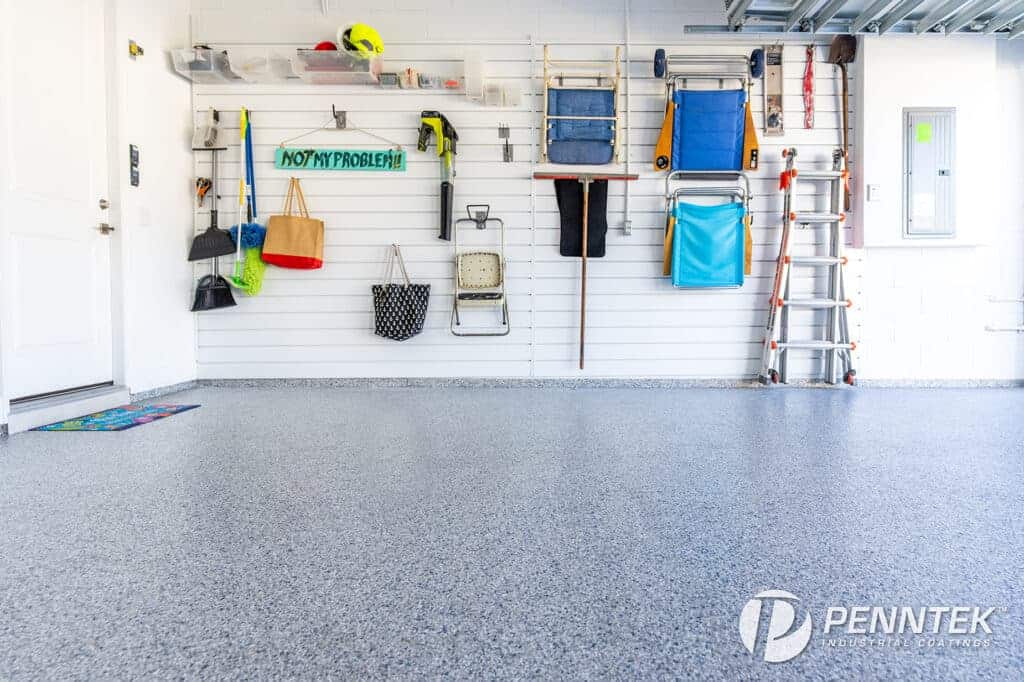
Step 7: Your New Floor Coating
In just a few hours post the final coat, you’ll be set to take your first steps on your upgraded floor. And by the next day, it’s primed for regular use. Enjoy the fresh and durable look of your revamped space!